Check visor-clip garage remote battery door
Garage remote
On visor-clip garage door remotes, open the battery door the right way and note polarity before you replace the garage remote battery.
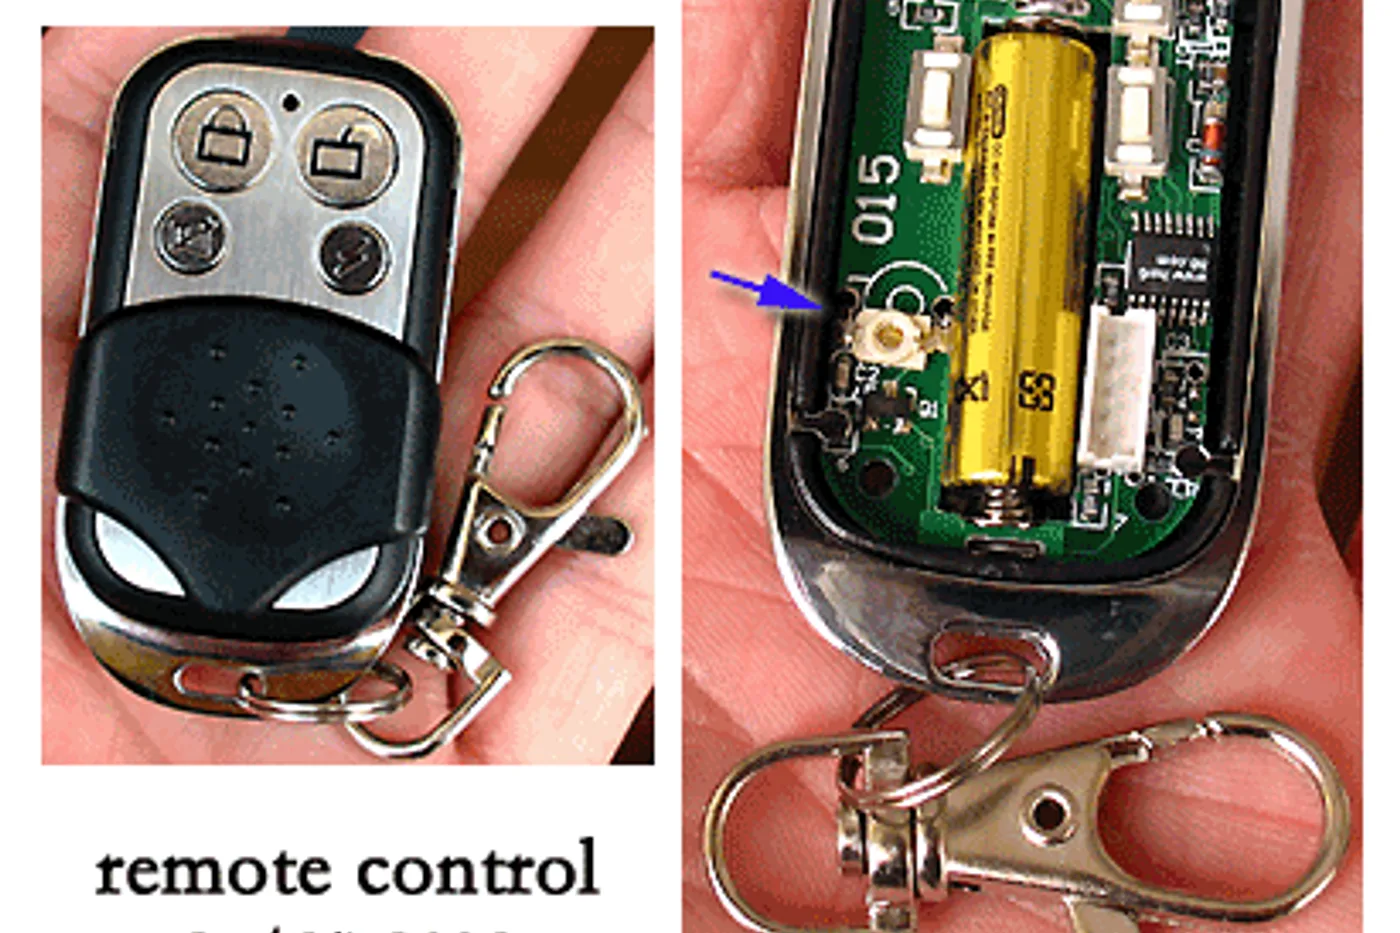
Visor-clip garage door remote shells often hide a sliding or hinged battery door — opening it wrong cracks the clip or drops the cell.
Check the visor-clip garage remote battery door first
- Take the remote off the visor. Look for a small latch, arrow, or seam on the back or side — not the big button face.
- Slide or hinge the door open gently. Note which way the old cell faces (+ / −) before you remove it.
- Install a matching garage remote battery (often a coin cell or A23 — match the printed size). Seat it flat so the door can close without pinching the edge.
- Close the door fully until it latches. Clip the remote back and test from the driveway before you reprogram anything.
If the door will not latch, the cell is probably upside down or the wrong thickness.
Honest stop
A new cell will not fix a remote that never worked after an opener reset. Confirm the wall button still runs the door, then see battery-before-reprogram if needed.
More help
- Same niche: Garage door remote — calendar a spare remote battery check · Garage door remote — short range? check the opener antenna wire · Clean garage door remote contacts with a new battery · Garage door remote — dual-battery visor polarity check · Find the garage opener learn button first · Garage remote battery before you reprogram · Garage remote not working but wall button does · Garage door remote — soft grip vs hard clip rattle after visor swap · Garage remote short range after an LED bulb change · Garage door remote vs Homelink — stay in your lane · Garage door remote — keep it off a sunny dashboard · Garage door remote — label which button opens each door · Garage door remote — label the spare with the opener model · Garage door remote — match visor clip depth to fabric thickness · Garage door remote — retest range from mid-driveway after a battery · Garage door remote — pull the battery from a stored spare · Garage door remote — replace dual batteries as a pair · Garage door remote — replace a worn visor-clip spring · Garage door remote — soft silicone visor grip when the clip slips · Garage door remote — test from the end of the driveway after a battery · Garage door remote — wall LED blink means learn mode open · All garage remote guides
- Related fixes elsewhere: Test key fob battery range after a swap · Is it the battery or a dead fob?