Printer ink — rock a new cartridge gently after you peel the tape
Printer ink
After peeling protective tape from printer ink cartridges, rock the cartridge gently so ink reaches the nozzles before you install — one beat, no hard shakes.
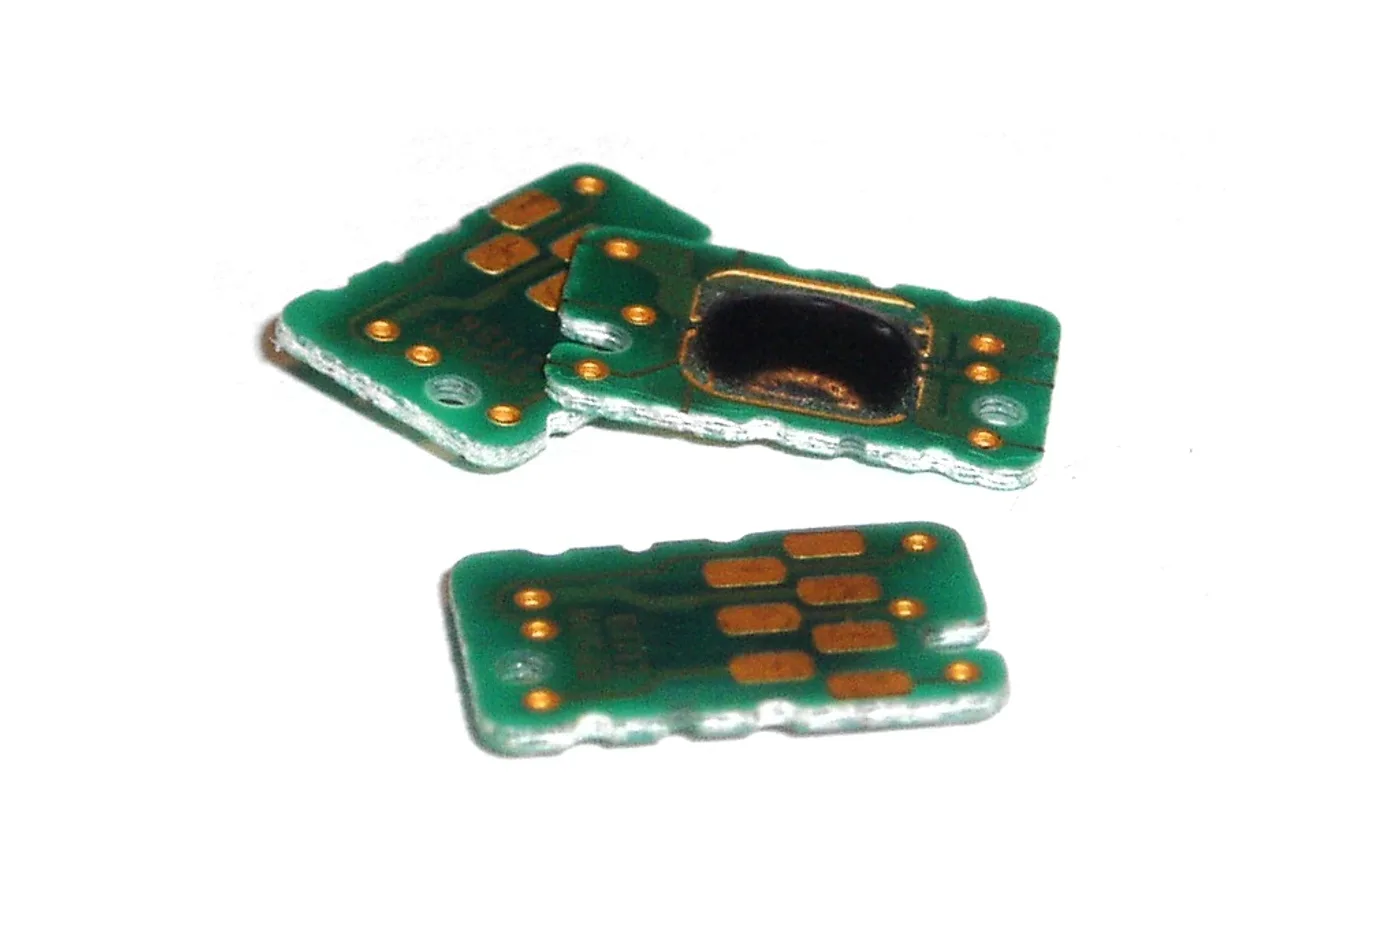
Fresh printer ink cartridges can still print blank if ink sits away from the nozzles after storage. Peel the protective tape, then gently rock the cartridge so ink reaches the outlet before you click it into the carriage — one small beat, not a hard shake that foams the ink.
Rock the new printer ink cartridge after you peel the tape
- Peel every protective tape tab from the new cartridge. Do not touch the copper contacts or nozzle plate with fingers.
- Hold the cartridge level and rock it slowly side to side for about ten seconds so ink can settle toward the nozzles. Skip vigorous shaking that can foam dye ink.
- Install until the carriage latch clicks, then close the printer and run one nozzle check page if the printer offers it.
- If the first page is still blank after a gentle rock and a clean seat, try the printer’s clean cycle once — not a second hard shake of the same cartridge.
Honest stop: if the ink cartridge number does not match the printer, rocking will not fix recognition — match the model label first.
More help
- Same niche: Printer ink cartridges — alcohol limits on removable printhead contacts · Clean printhead streaks without wasting ink · Printer ink — run a color-bar nozzle check before a clean · Printer ink cartridges — mark color multipacks vs single-color boxes · How to find your exact ink or toner number · Printer ink cartridges — laser streaks are not an inkjet clean · Printer ink — let the printer finish priming before you power off · Mark a FIFO date on printer ink multipacks · Printer ink smudging — match the paper type setting · Printer ink — run a nozzle check before a second clean · Printer ink — photo the empty cartridge before you reorder · Printer ink cartridges — check contacts before another clean · Printer ink — turn the printer off with its own button · Printer says empty after a new cartridge · Printer ink cartridges — print a supplies status page first · Printhead alignment without wasting paper · Printer ink — confirm printhead ribbon latch fully closed · Remove cartridge protective tape before trusting empty · Printer ink — bring a cold cartridge to room temperature before install · Printer ink — reseat printhead ribbon after a wipe · Standard vs XL ink cartridges · Store printer ink cartridges upright and cool · Printer ink — print one page a week so nozzles stay wet · All printer ink guides
- Related fixes elsewhere: Remove cartridge protective tape before trusting empty · Printer ink — bring a cold cartridge to room temperature before install